Rohit Sharma’s lone stand turned a shaky start into must-watch cricket at the Adelaide Oval, transforming a top-order meltdown into a tense ODI that swung until the final overs. His innings was less about flair and more about resilience, the kind of knock that stitches an innings together when everything else frays.
The setup: Adelaide under lights
Adelaide has a habit of magnifying new-ball skill, and this game was no exception. A fresh surface with early seam and a hint of bounce asked hard questions. India lost wickets inside the powerplay as Australia’s quicks hit a demanding length and extracted movement. The scoreboard pressure felt immediate; timing through the line wasn’t on offer, and the margin for error was thin.
The collapse: when the script turned
India’s top order, usually a metronome of early control, was prised open by disciplined lines and the new ball’s bite. An early dismissal to the short-of-a-length channel, another to the wobble-seam nip-backer, and suddenly the innings was one mistake away from spiraling. Dot-ball pressure tightened grips, footwork narrowed, and the fielding side sensed drift. This was the spell where many ODI chases or builds quietly die.
Rohit’s recalibration: from survive to score
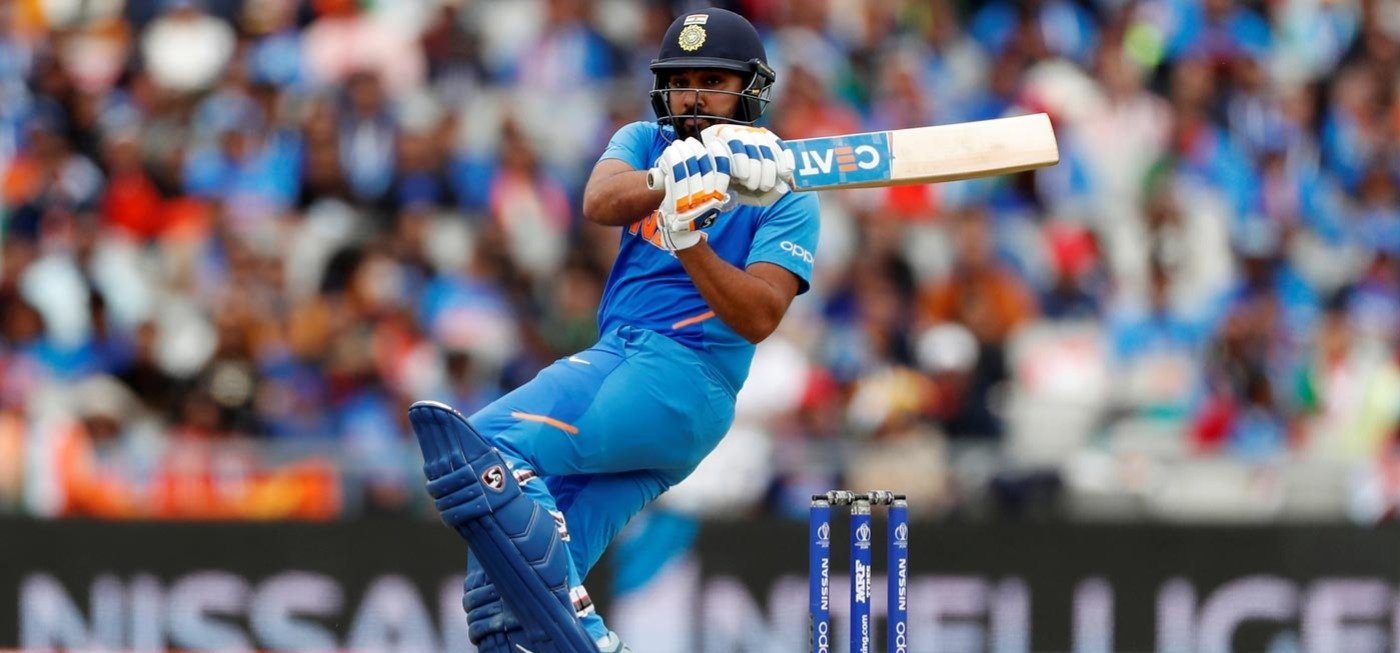
Rohit’s response was a masterclass in batting by phases. The first 30 balls were about survival: playing late, under the eyes, and refusing the honey traps outside off. He used the crease to change release points, dropped wrists to kill bounce, and trusted straight-bat defense against the hardest questions. Then came the assertive switch—pick the right-over to counterpunch, target the fourth and fifth bowlers, and turn ones into twos. A pair of short-ball pickups—signature pulls that traveled deep into the leg-side stands—signaled he’d earned the right to dictate.
The partnership glue: steadying with the middle order
Every lone stand needs a co-author, and the middle-order alliance did the quiet work. Rotating strike against the leg-spinner, refusing maidens to the holding seamer, and farming the short side boundary were crucial micro-wins. The 80–100 run stand that followed wasn’t just runs—it was tempo repair. It pushed the field back, broke the bowling plans into Plan B and C, and kept a competitive total (or chase) within reach without exposing the tail too early.
Australia’s blueprint: pace, then choke
Australia played the template perfectly: new-ball heat from the tall right-armer attacking the top of off, the left-armer angling across into the corridor, and the leg-spinner denying rhythm in the middle. Their use of the short ball was strategic rather than indulgent—aimed at the splice, not the helmet—and the ring fielders patrolled the square to turn 1.2 expected runs into one. When India rebuilt, Australia pivoted to cutters, wider lines, and two-short cover fields to protect the off-side rope and test patience.
Turning points: little moments, big outcomes
- The dropped chance at backward point that kept Rohit in changed the probability curve. It also softened lengths for the next three overs.
- The over where back-to-back boundaries arrived—one driven through extra cover, one picked up behind square—shifted field placements and created singles in the next phase.
- The mini-onslaught against the fifth bowler was surgical: 10–12 runs with minimal risk that reset the innings without sacrificing wickets.
Why this became a thriller
Adelaide’s ODI thrillers are built on competitive totals and late swing at twilight. This one had both. A fighting score in the 250–270 range (or a chase that kept that buffer intact) meant wickets-in-hand vs. overs-remaining stayed in tension deep into the finale. Each over produced a trade-off—do you take on the longer boundary now or hold for the matchup later?—and the knife-edge persisted until the penultimate set.
Rohit’s innings in context
This knock will be remembered not for its strike-rate headline, but for its sequencing. It showed the value of strike rotation when boundaries aren’t available and the importance of shot denial—leaving on length, defending with soft hands, and attacking only into space. It also reinforced a timeless ODI truth: one batter absorbing early volatility allows everyone else to bat to their strengths.
Tactical lessons for both sides
- India: front-load intent only when the ball stops talking; otherwise, protect wickets and win the middle overs with rotation and targeted aggression against the fifth bowler. Save your finishers for the last 7–8 overs with a platform.
- Australia: extend the new-ball challenge by holding one over back for the post-powerplay gate, and avoid offering pace on leg to Rohit once he’s set. Keep the leg-side boundary long; make him fetch it.
Key numbers that mattered
- Dot-ball control: holding the dot percentage under 50% in the rebuild phase preserved runway for a back-end surge.
- Boundary clusters: two overs with 10+ runs, even without sixes, were momentum valves that prevented the innings from seizing up.
- Risk zones: balls on a good length, fourth stump, under lights remained the highest dismissal threat; attack balls either fuller for the drive or shorter into the pull when matchups allow.
What it means going forward
For India, the blueprint is clear: accept the ugly early overs, trust technique, and cash in when the ball ages. For Australia, the plan worked well enough to create chaos; the margin was the dropped chance and the fifth-bowler squeeze. For neutral fans, this was ODI cricket at its best—craft over crash, plans over power—decided by small margins and one senior batter’s clarity under pressure. In the end, Rohit Sharma’s lone stand didn’t just rescue an innings; it authored a narrative Adelaide knows well: a fight through the hard overs, a middle-overs revival, and a finale that keeps everyone watching until the last ball.


Leave a comment